on
A simple text editor foot pedal
When I first starting talking about building a chording keyboard, both in person and online, people began to ask me about the possibility of building a computer foot pedal. With the Teensy microcontroller, a foot pedal would only need to watch a single digital input and output a few characters to the OS; much simpler than my chording keyboard project.
Commercial products
There are quite a few commercial products you can buy. They come with their own caveats:
- Kinesis makes several, but they can only be programmed on Windows. They are also very expensive.
- The Xkeys Foot Pedals look good, but they are also expensive.
- The DealExtreme Triple Action Foot Pedal provides three buttons and is relatively cheap; however, the reviews I’ve read say the reliably is poor. This product can only be programmed on Windows.
Building the foot pedal
My first idea for a foot pedal was to use DIY guitar pedal hardware. Such guitar pedals have nice, sturdy aluminum project boxes, robust foot switches, and look pretty good. But the ergonomics of such a pedal worried me: while a guitarist momentarily stomps on guitar pedals to turn them on or off while standing, a programmer would likely be tapping and/or holding a foot pedal for long periods of time, most likely from a seated position.
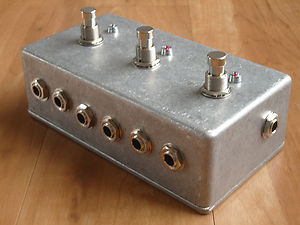
Such a pedal would look something like the above, but with a USB cable coming out of it. If you wish to use guitar pedal hardware, I suggest checking out Mammoth Electronics. (I receive no compensation for mentioning them; I have been a happy customer for several years.) For a two-to-three switch foot pedal, I suggest the 1590BB enclosures, and Mammoth can drill them in several ways for you.
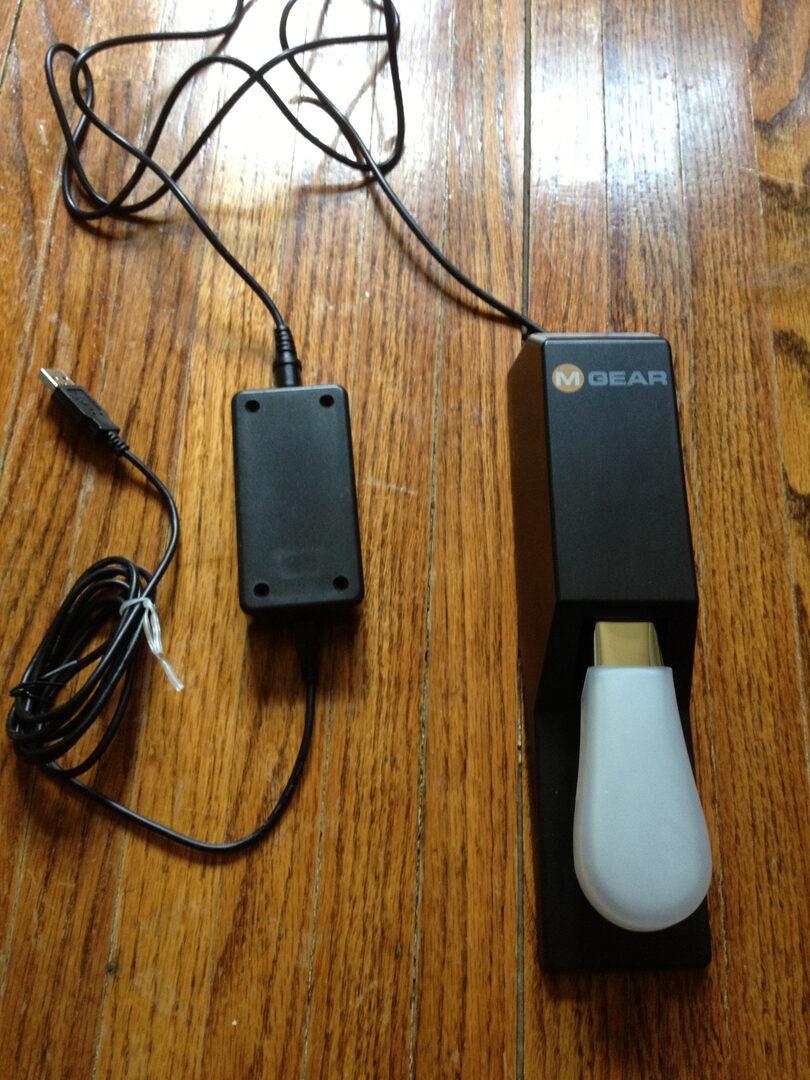
My coworker Chris Wilson suggested that I try a digital piano foot switch. These are relatively cheap and extremely sturdy. I picked up an M-Audio Sustain Pedal from Amazon for about $17.
The sustain pedal is designed to plug into a digital piano, so it has a 1/4” audio plug on its cable. In the past, I’ve built a lot of guitar effects pedals and some amps, and so I have a lot of 1/4” jacks around.
The wiring is simple: The Teensy (and most Arduinos) can do input pullup resistors for us. I mocked up the circuit with a little breadboard (ignore the weird angle of the Teensy here; it was required to get the pins into this small breadboard.) I downloaded some example button code to the Teensy and verified that it was working.
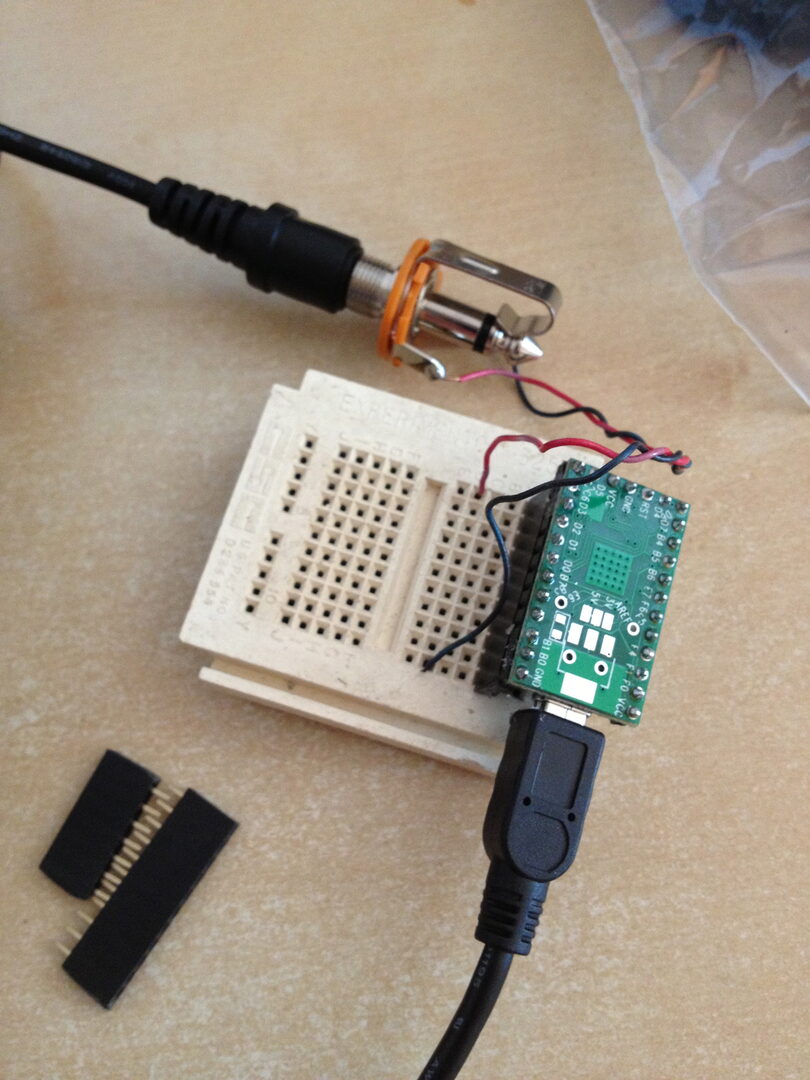
To assemble, we simply solder a digital IO pin to one side of the 1/4” jack, and the other wire gets soldered to ground pin. My button is going to be connected on pin 9.
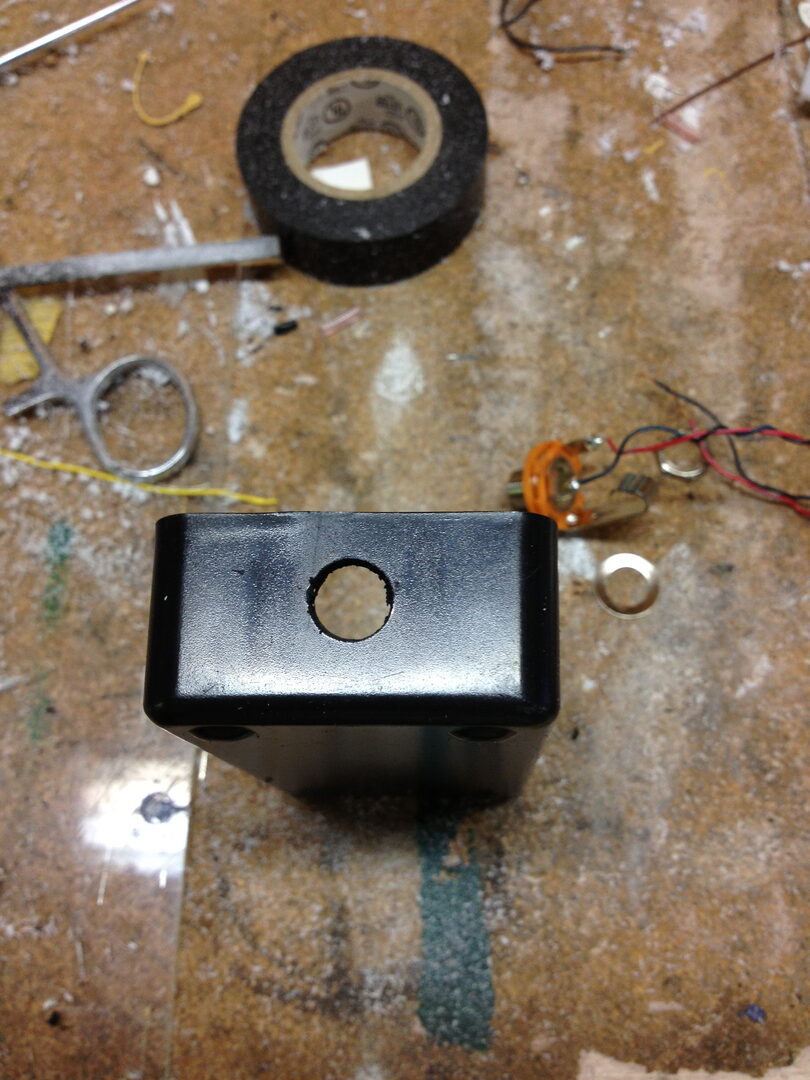
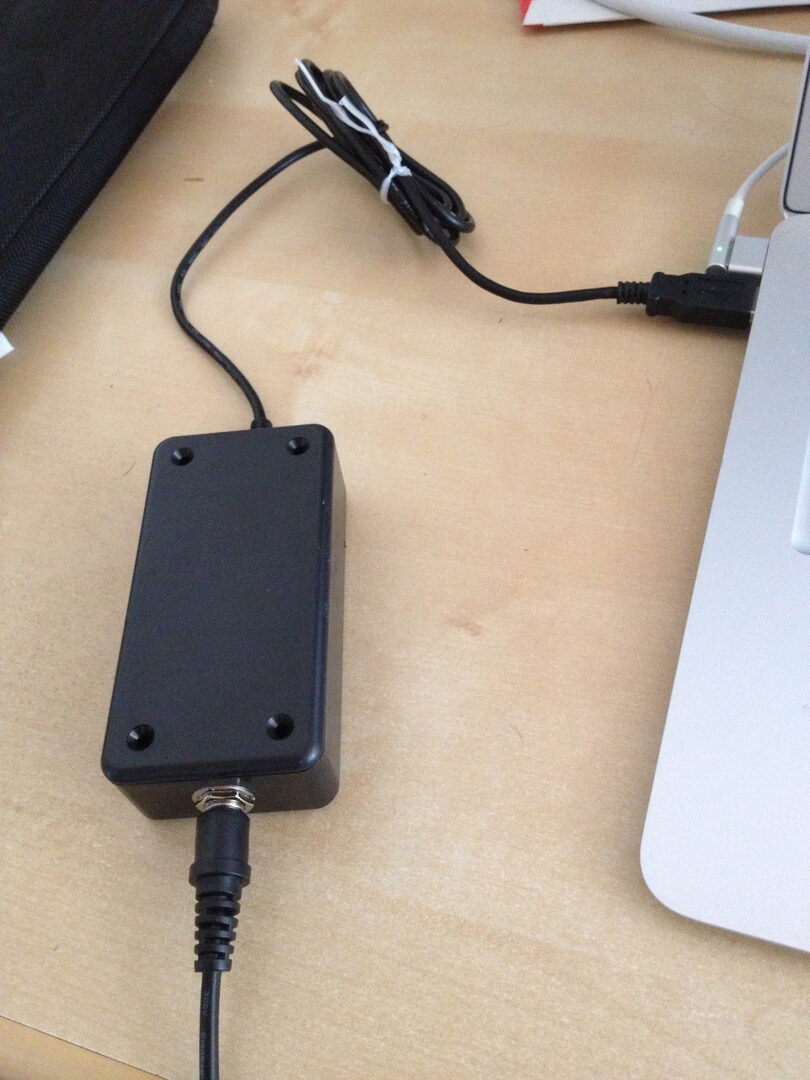
I had a small project box, much bigger than the Teensy really needed, but suitable for the job. I used my Dremel to cut a round hole for the 1/4” jack, and a rectangular slightly bigger than the mini-USB cable plug for our USB cable.
Test fitting the Teensy in the project box:
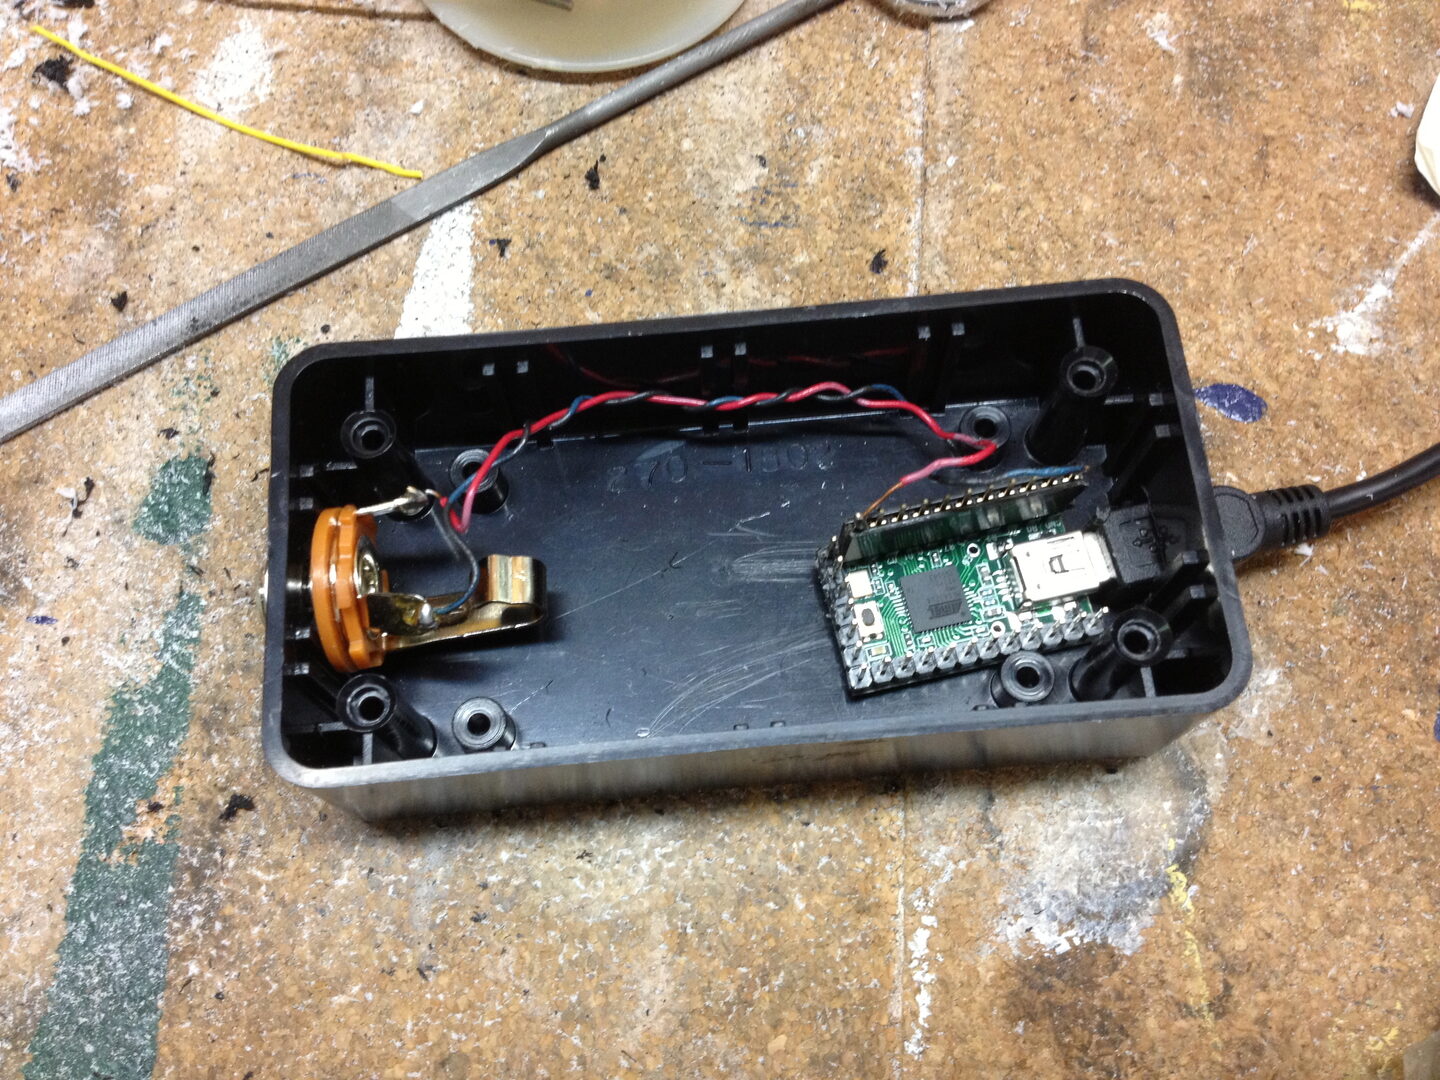
Lastly, I used some velcro inside to attach the Teensy to the project box. All done with assembly!
The next step is to program the Teensy to send the key events we want. In this case, my coworker Josh suggested a vim clutch that enters insert mode when you press down on the pedal, and leaves insert mode when you release it. Since the Teensy’s Button class detects both button press and button release events, we can write code to do that.
Here’s what the code looks like:
/*
 * A vim insert mode foot pedal
 */

#include <Bounce.h>

int ledPin = 11;
int footPedalPin = 9;

// 10 = debounce time in ms
Bounce button = Bounce(footPedalPin, 10);

void setup() {
  Serial.begin(9600);
  pinMode(footPedalPin, INPUT_PULLUP);
  pinMode(ledPin, OUTPUT);
  Keyboard.begin();

  delay(1000);
  Serial.println("All set");
}

void loop() {
  button.update();

  if (button.fallingEdge()) {
    // enter insert
    Keyboard.write("i");
    digitalWrite(ledPin, HIGH);
  } else if (button.risingEdge()) {
    // leave insert
    // We have to build Ctrl-[ to leave insert since
    // the ESC key does not seem to be detected on OSX.
    Keyboard.press(KEY_LEFT_CTRL);
    Keyboard.press('[');
    Keyboard.releaseAll();
    digitalWrite(ledPin, LOW);
  }
}
(You can find the code in my chording keyboard repo on Github here.)
There are, of course, a few gotchas that I ran into:
The KEY_ESC constant that is referenced by the Arduino documentation didn’t work. Similarly, sending the hex value and character code didn’t work. I couldn’t find anything online that suggested that the Mac has some different ASCII character for the Escape key, so I had to find another way to leave insert mode.
With the Arduino’s Keyboard class, we can build up a key combo by calling Keyboard.press for each character in the combo, and then finally calling Keyboard.releaseAll when we’re ready to send the key combo to the computer. Since vim also has Ctrl-[ as a way of leaving insert mode, I created that key combo on lines 34-36.
Of course, this code could be made to be even more robust by guarding against, say, inserting an i character when you are already in insert mode. Most likely, you’d send Ctrl-[ (and move building the key combo to a function we can reuse) and then send vim the command :startinsert. I’ll leave implementing the more robust solution as an exercise for the reader.
Final thoughts
Does it work? I used it while writing this blog post, but I must admit, I have a strong natural reflex to hit ESC to leave insert as soon as I finish typing a word or sentence. However, when consciously trying, it is quite natural to use the foot pedal to enter/leave insert mode. One downside I found was that the Ctrl-[ combo seems to back up the cursor one character, which can be annoying.
For my personal use, I am thinking about mapping the key it sends to Left-Alt so that I can use the footpedal while in emacs’ Org Mode and not have to move my left hand down to hit Alt with my ring finger every time I want to adjust a heading or start a new heading.
Overall, this pedal is much cheaper than the high-end pedals mentioned above. The total cost came to around $37, because I had some of the parts on hand. Further, you can upload new code to the Teensy on all operating systems, a big win over the Windows-only pedals above.
However, this pedal only has one foot switch. You could easily add more M-Audio sustain pedals to the design, and keep adding 1/4” jacks to a project box. The Teensy has plenty more IO lines to use! Or you could go for it all in one enclosure with the guitar pedal hardware.
If you have any questions or comments, I’d love to hear about it in an email.